


Wondering what to do with all of those fabulous shells you just found while on vacation at Island Inn? We’ve got an idea for you! This is a great activity for children, as well as adults, and will keep those Sanibel Island memories alive wherever you are. Use your imagination and creativity and partake in National Craft Month & National Children’s Craft Day with our Sanibel Shell Planter Craft Tutorial.
We can’t wait to see your Sanibel shell crafts, share with us your projects on Facebook & Instagram!
STEP 1: Gather your supplies and find a workplace where you have room to spread out your shells! If you’ve just found your shells on the beach, clean and let them dry before starting your craft!
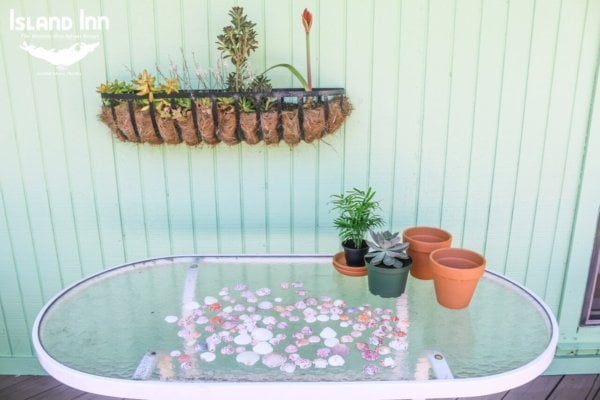
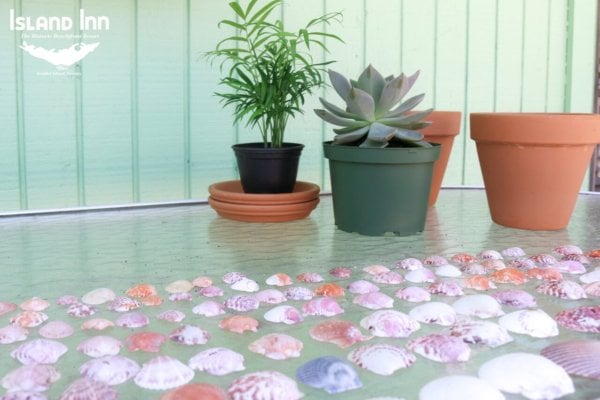
STEP 2: Once you’ve found your workspace, spread out your shells and arrange by size and type. This will come in handy when you start gluing your shells down.
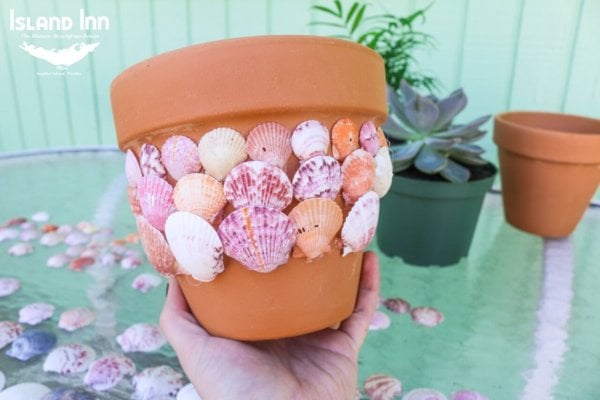
STEP 3: Start with your favorite smaller shells and glue them in place around the top edge of your pot. Using the hot glue gun, stick them into place. If you are helping children with this craft, have them pick out the shells and the adult glue them into place (Other glues may work as well if you don’t want to add the heat element)
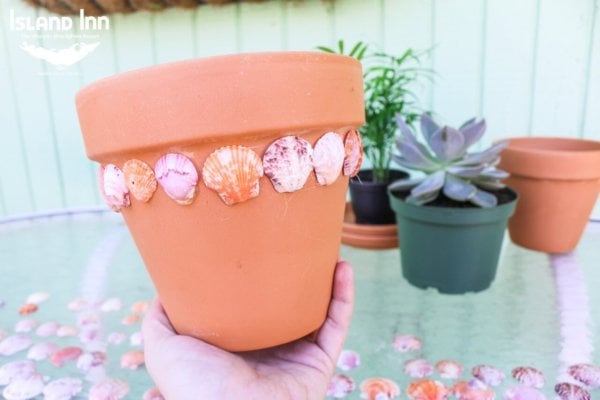
STEP 4: Once you’ve gone all the way around the top edge of the pot continue onto the next row of shells. Slightly overlap the shells to hide any empty space.
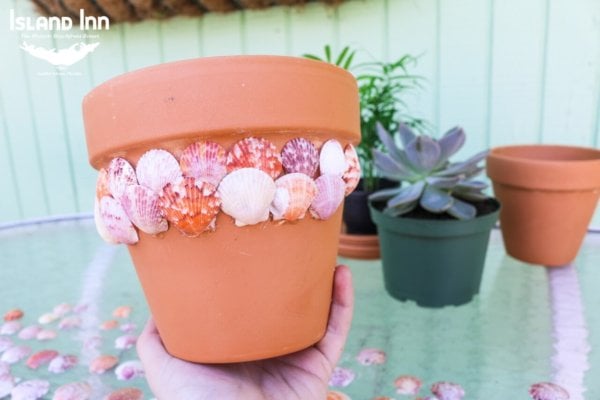
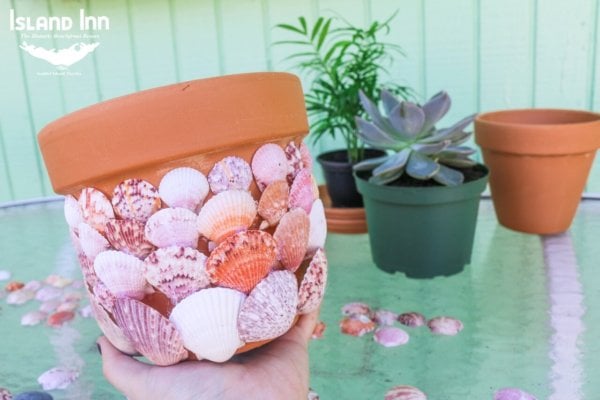
STEP 5: Continue gluing your shells down like the previous step until you get to the bottom. As you work your way down the pot, start to use your bigger shells so the smaller ones are towards the top and the bigger ones are at the bottom.
STEP 6: Once you’ve reached the bottom of your pot, continue onto the next step.
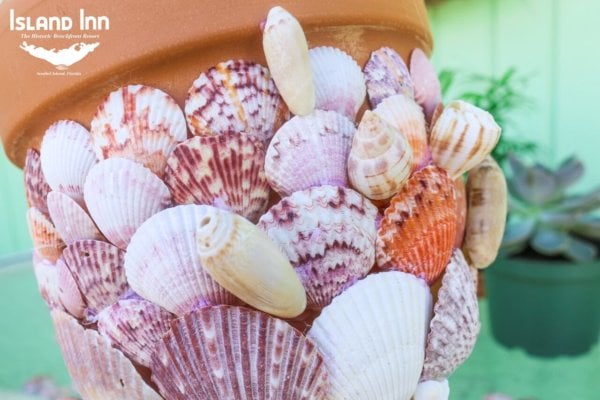
STEP 7: After you’ve finished with the scallop shells, you can either move on to the next step or add any other shells you’ve found to add more decoration and flare. You can get as creative as you want with the pattern and placement of the shells onto your pot. That’s what makes each one so unique!
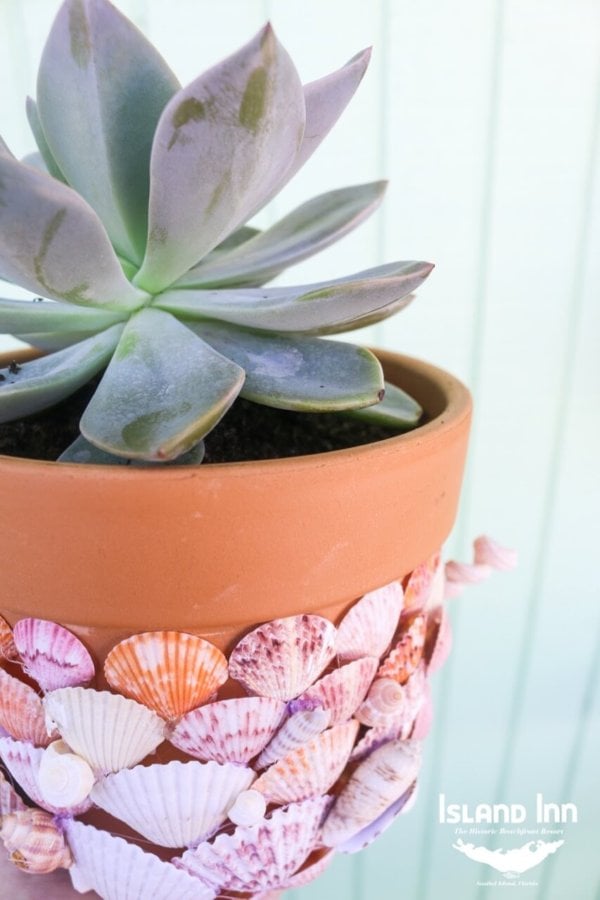
STEP 8: Place your plant in the pot. Add more soil to the pot if needed & you’re then ready to display your Sanibel Shell Planter! Thanks for following along to this tutorial, please share your crafts with us! We can’t wait to see them!


